Setting up your new gaming laptop can be a pain in the ass. Not only are there countless cables to sort out, but you’ve also got to spend hours installing discs and setting up your system just right. That’s no fun, especially if you’re coming off of an older machine that’s seen better days. Luckily for you, I’ve put together this nifty guide on getting your new laptop set up as fast as possible (and looking stylish while doing it). Let’s get started!
Unboxing.
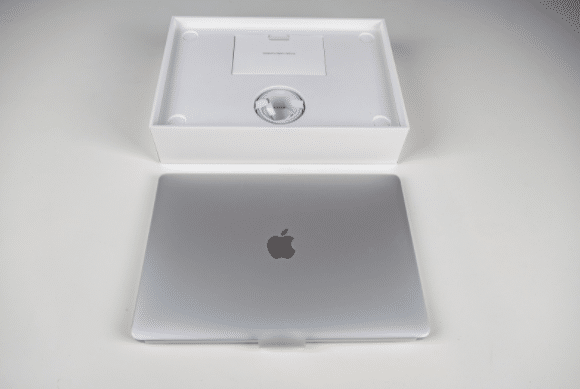
As much as we all love ripping into our brand new toys, there isn’t much reason to do that with laptops anymore unless you’re expecting some major components like a superpowered graphics card or a mechanical keyboard (which is pretty cool). Most of the time, laptops just come with a power adapter and some documentation. Even if you’re expecting any degree of epicness, unboxing is relatively straightforward: remove the cables and manuals from their bags and place them aside without too much care or attention (why would you want to damage that pretty little box before it’s even seen the light of day?).
The initial system setup.

This will vary depending on your laptop’s OS, but for this example, I’ll be using Windows 10 because most people are familiar with it. The process itself isn’t particularly complicated, but there are some things to look out for when setting up your laptop for the very first time. For example, do yourself a favor and skip the Cortana search assistant (unless you like redundant services that do the same thing only with different names). Just go to Start menu > Settings > System > Default Apps. From there, set your default browser, email client, etc.
Another cool little feature of Windows is the ability to sync your settings across various devices. This can be useful if you’re using Windows on more than one machine so try not to ignore it! The initial setup process will activate this by default, but I’ve stumbled upon plenty of people who didn’t know about it until their laptop bricked itself for some reason or another. To access these settings, head over to the Start menu > Settings > Accounts > Sync Your Settings
Setting up Drivers
Now that we’re done with that, time to set up the drivers! This is probably one of the most critical things about getting your laptop ready for day-to-day use. Even if you don’t plan on using it for gaming (lmao), there are plenty of necessary drivers you need to be installed like touchpads, wireless cards, etc. Start by updating Windows and then go through the driver updates (this should take between 5-10 minutes depending on how many updates).
We are setting up storage space.
Next up is allocating some solid-state drive space for your operating system and games! Whenever you start your laptop for the first time, Windows will usually complain that it doesn’t have enough space to download updates or create a system restore point. You can either do this now or later, but no matter what, I’d recommend allocating at least 20GBs of storage space to ensure smooth operation.
Setting up our display(s)!

The next step is setting up what displays we have plugged in – generally only one unless you’ve got an Nvidia GTX 1050 / 1050 Ti laptop with Optimus technology. This can be done by right-clicking on your desktop and selecting Display Settings… > Advanced display settings… > the highest resolution available under “Resolution” (e.g., 1920×1080 on a 1920×1080 monitor). If you’re playing games, I’d recommend changing your resolution to match your native screen resolution (native being the maximum number of pixels your laptop’s display can handle). This is done by going into Display Settings… > Advanced display settings… > List All Modes > Highest Available Resolution. Otherwise, Windows may upscale the font size or scale down elements making it look ugly or unreadable.
We are setting up audio devices!
One of my favorite parts of setting up a new laptop is that you can finally listen to the music of your primary hard drive again! This will be even more exciting if you haven’t used Windows in some time, as Microsoft has completely redone how sound works, so everything runs on the same Playback/Recording devices page under Settings… > Devices. If you have multiple audio playback/recording devices (e.g., USB headset and speakers), I recommend disabling every device except for what you’re currently using (you can always re-enable them later if needed). It’ll save on confusion and keep things simple, especially since it doesn’t matter too much if your laptop’s speakers and headphone jack don’t both support 48kHz.
We are setting up network connections!
Lastly, we’ll need to set up our wireless and wired (if available) adapters as necessary by clicking on the Start button > Settings… > Network & Internet. Wireless networks will be listed under your computer name if your laptop supports Wi-Fi Sense / WPS / PEAP; alternatively, you can choose “Network settings” and then “Add a network.” Wired networks will appear automatically and should work after plugging them in. However, connecting through an Ethernet cable has its advantages – it is not affected by Wi-Fi interference and doesn’t eat into your battery life as Wi-Fi does.
Conclusion:
As far as getting your laptop set up for optimal gaming goes, that’s pretty much it! Let us know if you have any questions or need help setting anything more up, and we at best gaming tips will try to do our best. Have fun!